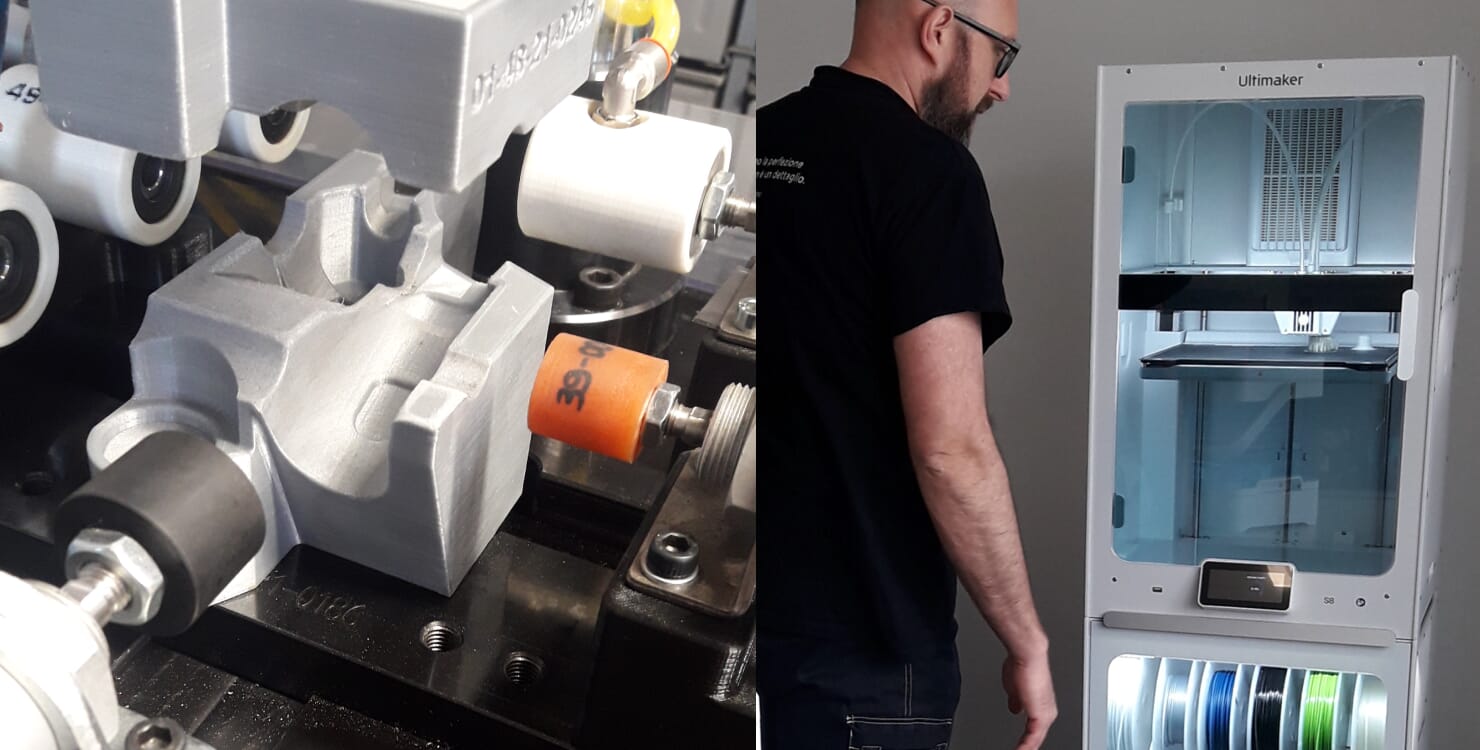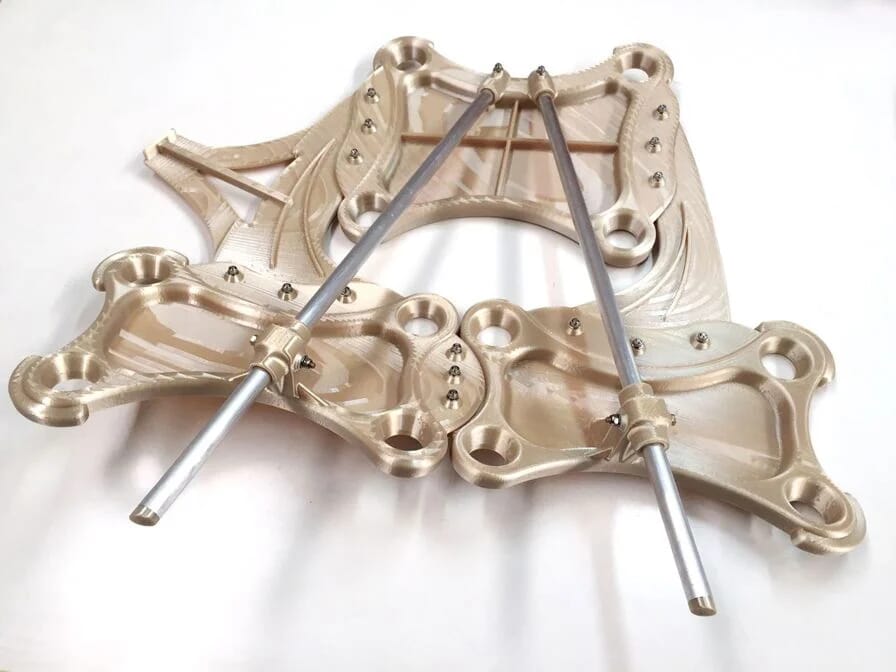
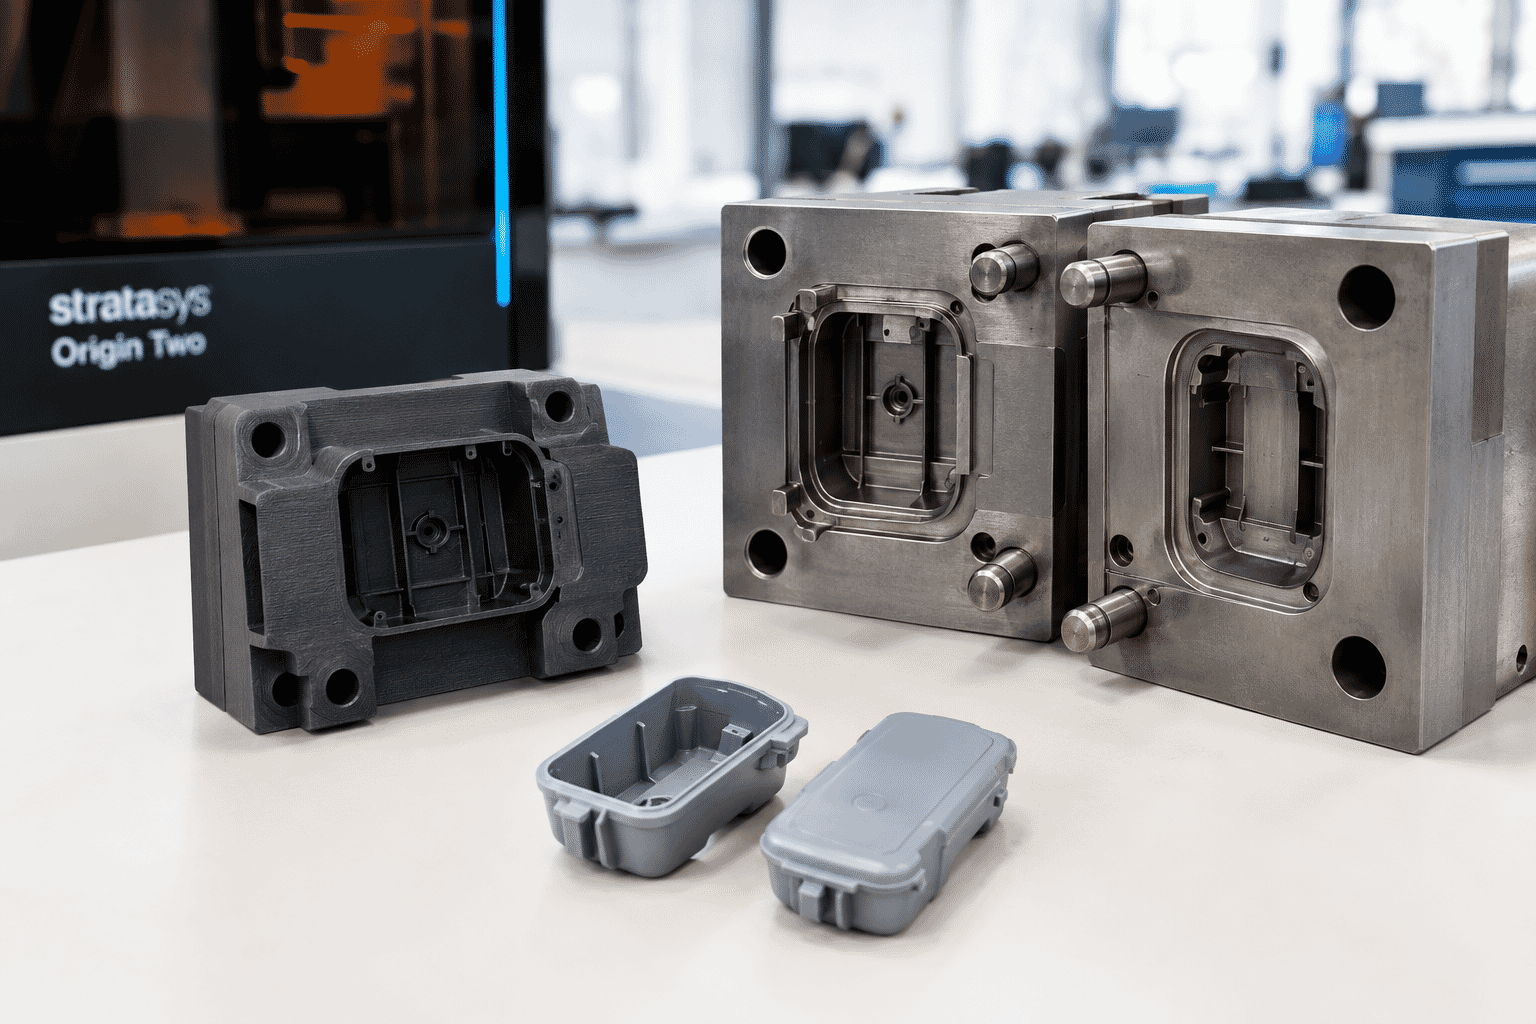
3D printed mould tools were supposed to solve all our problems. Instead of waiting months for expensive machined tools, we were promised quality tools printed in hours, at a fraction of the cost. But actually, we got moulded parts that looked and performed nothing like they were supposed to, with rough surfaces, loose tolerances, and a tendency to crack.
That’s all changed now though. The cutting-edge Stratasys Origin Two printer, paired with the latest ceramic-filled materials, produces accurate tools that deliver injection mould quality for R&D, bridge tooling, and low-volume production. Here’s what’s different, and why it matters for your tooling…
Surface finishes that match CNC machined tools
Any mark on a mould tool transfers straight onto each part it produces. Early 3D printed tools left visible layer lines and rough surfaces on the finished parts, meaning they looked unfinished and performed poorly. Engineers either had to spend hours hand-finishing the tools, or just accept that the moulded parts wouldn’t represent the final product.
The Origin Two solves the surface finish problem. It’s a DLP (digital light processing) printer that cures each full layer of resin with projected light to create smooth, finely detailed surfaces. We achieve a roughness average (Ra) of 2μm on the Origin Two, which is comparable to a CNC machined finish. The parts that come out of the printed tool are a much more accurate representation of what you’d get from a production tool, so you can confidently judge the appearance and fit each time.
Pinpoint precision you can rely on
If a mould tool is out by even a fraction of a millimetre, it can cause three problems with the finished parts:
- They won’t fit together
- They’ll have flash (thin excess plastic) at the parting line
- They won’t fill completely
Older printed tools weren’t consistent enough for us to trust the results. Sometimes the parts came out right, but other times they’d be completely out of tolerance.
The Origin Two saves the day (again). It’s one of the most precise DLP printers out there, consistently achieving an accuracy of 40µm standard deviation with 70% of measurements falling within ±30µm. Because every tool comes out the same, you can fully trust the parts it produces; making it a fool-proof way to check if your design works, test how parts perform, and keep production moving while your steel tools are still being built.
Materials that survive the heat and pressure of injection moulding
Injection moulding can be hard on a tool. Molten plastic is forced into it at high temperature and pressure, shot after shot, which quickly exposes any weaknesses in the material. The resins used for early 3D printed tools weren’t strong or heat-resistant enough to cope in these conditions, so the tools often cracked or wore out after a handful of cycles.
Newer ceramic-filled materials thrive in this environment. They hold their shape under heat and pressure for far longer, which gives your tools the strength and durability they need for bridge and low-volume production. Ultracur3D RG 3280, for example, is a ceramic-filled resin for the Origin that can withstand temperatures over 280°C. Its stiffness helps the tool keep its exact shape under injection pressure, with each mould typically lasting from a few hundred up to 1,000 shots.
Modern 3D printed mould tools pay for themselves
A printed mould tool now costs a fraction of a machined one. Plus, you can have it in your hands on the very same day.
At a Stratasys Tech Talk in September 2026, HoliMaker (a French manufacturer of compact injection moulding presses) shared average figures taken from several of their customers. A machined mould cavity typically took their customers 1-2 months to make, costing around €8,000 each time. On the flipside, a 3D printed mould could be made in-house in just 12 hours for around €250. Design changes also only took around a week with a printed tool, compared to 4-12 weeks with a machined one.
Could 3D printing speed up your injection moulding projects?
Today’s 3D printed mould tools are at the top of their game. Whether you need to test a new design in the actual plastic it’ll be made from, or keep parts coming while you wait for your steel tool, 3D printing can get you there much quicker, and for much cheaper, than traditional machining.
Talk to the Tri-Tech 3D team to discover what the industry-leading Origin Two printer and ceramic-filled materials could do for your tooling.
FAQs
Can you 3D print an injection mould tool?
Yes. High-resolution DLP printers (like the Stratasys Origin Two), paired with ceramic-filled materials (like Ultracur3D RG 3280), allow you to print mould inserts that fit right into a standard mould base or a bench-top press. They’re best suited to prototypes, bridge tooling, and low-volume production runs.
Is a 3D printed mould accurate enough for functional testing?
Yes. We achieve 40µm standard deviation on the Origin Two, with 70% of measurements falling within ±30µm and a surface finish of 2μm Ra. That’s accurate enough to provide injection mould quality parts for design validation, fit checks, and functional testing.
What plastics can you inject into a 3D printed mould?
Most common thermoplastics, including PP, PE, PS, ABS, and TPEs, work well in 3D printed moulds. Engineering-grade materials such as PA, POM, and PC can also be moulded, but they need closer attention to processing temperatures to avoid shortening the life of the tool.
Will a 3D printed mould replace a steel tool?
No, not for high-volume production. 3D printed tools are designed to sit alongside steel, letting you test and refine a design quickly before you invest in a production tool. They can also bridge the gap while your steel tools are being made.
New to 3D
Printing or looking
for some support?
- Call: 01782 814551
- Email: info@tritech3d.co.uk